
In our 2021-2022 citizen science program, we’re exploring a new research topic and trying to map local ocean currents. A lot of ocean science work has been put into large scale ocean current mapping, but near shore ocean currents remain a bit of a mystery. These are especially important for small islands, where these currents affect beach structure, coastal ecosystems, and movement of ocean debris. Our approach uses a buoy that’s designed for open ocean tracking, letting it float near the shore and catching it before it heads out to sea.
MAKER BUOY
While looking for open source current mapping options, we came across the Maker Buoy website (https://www.makerbuoy.com/). It’s a solar-powered floating buoy that sends data through a satellite modem. Depending on your needs and skill level, you can order it completely assembled, or as a DIY kit.
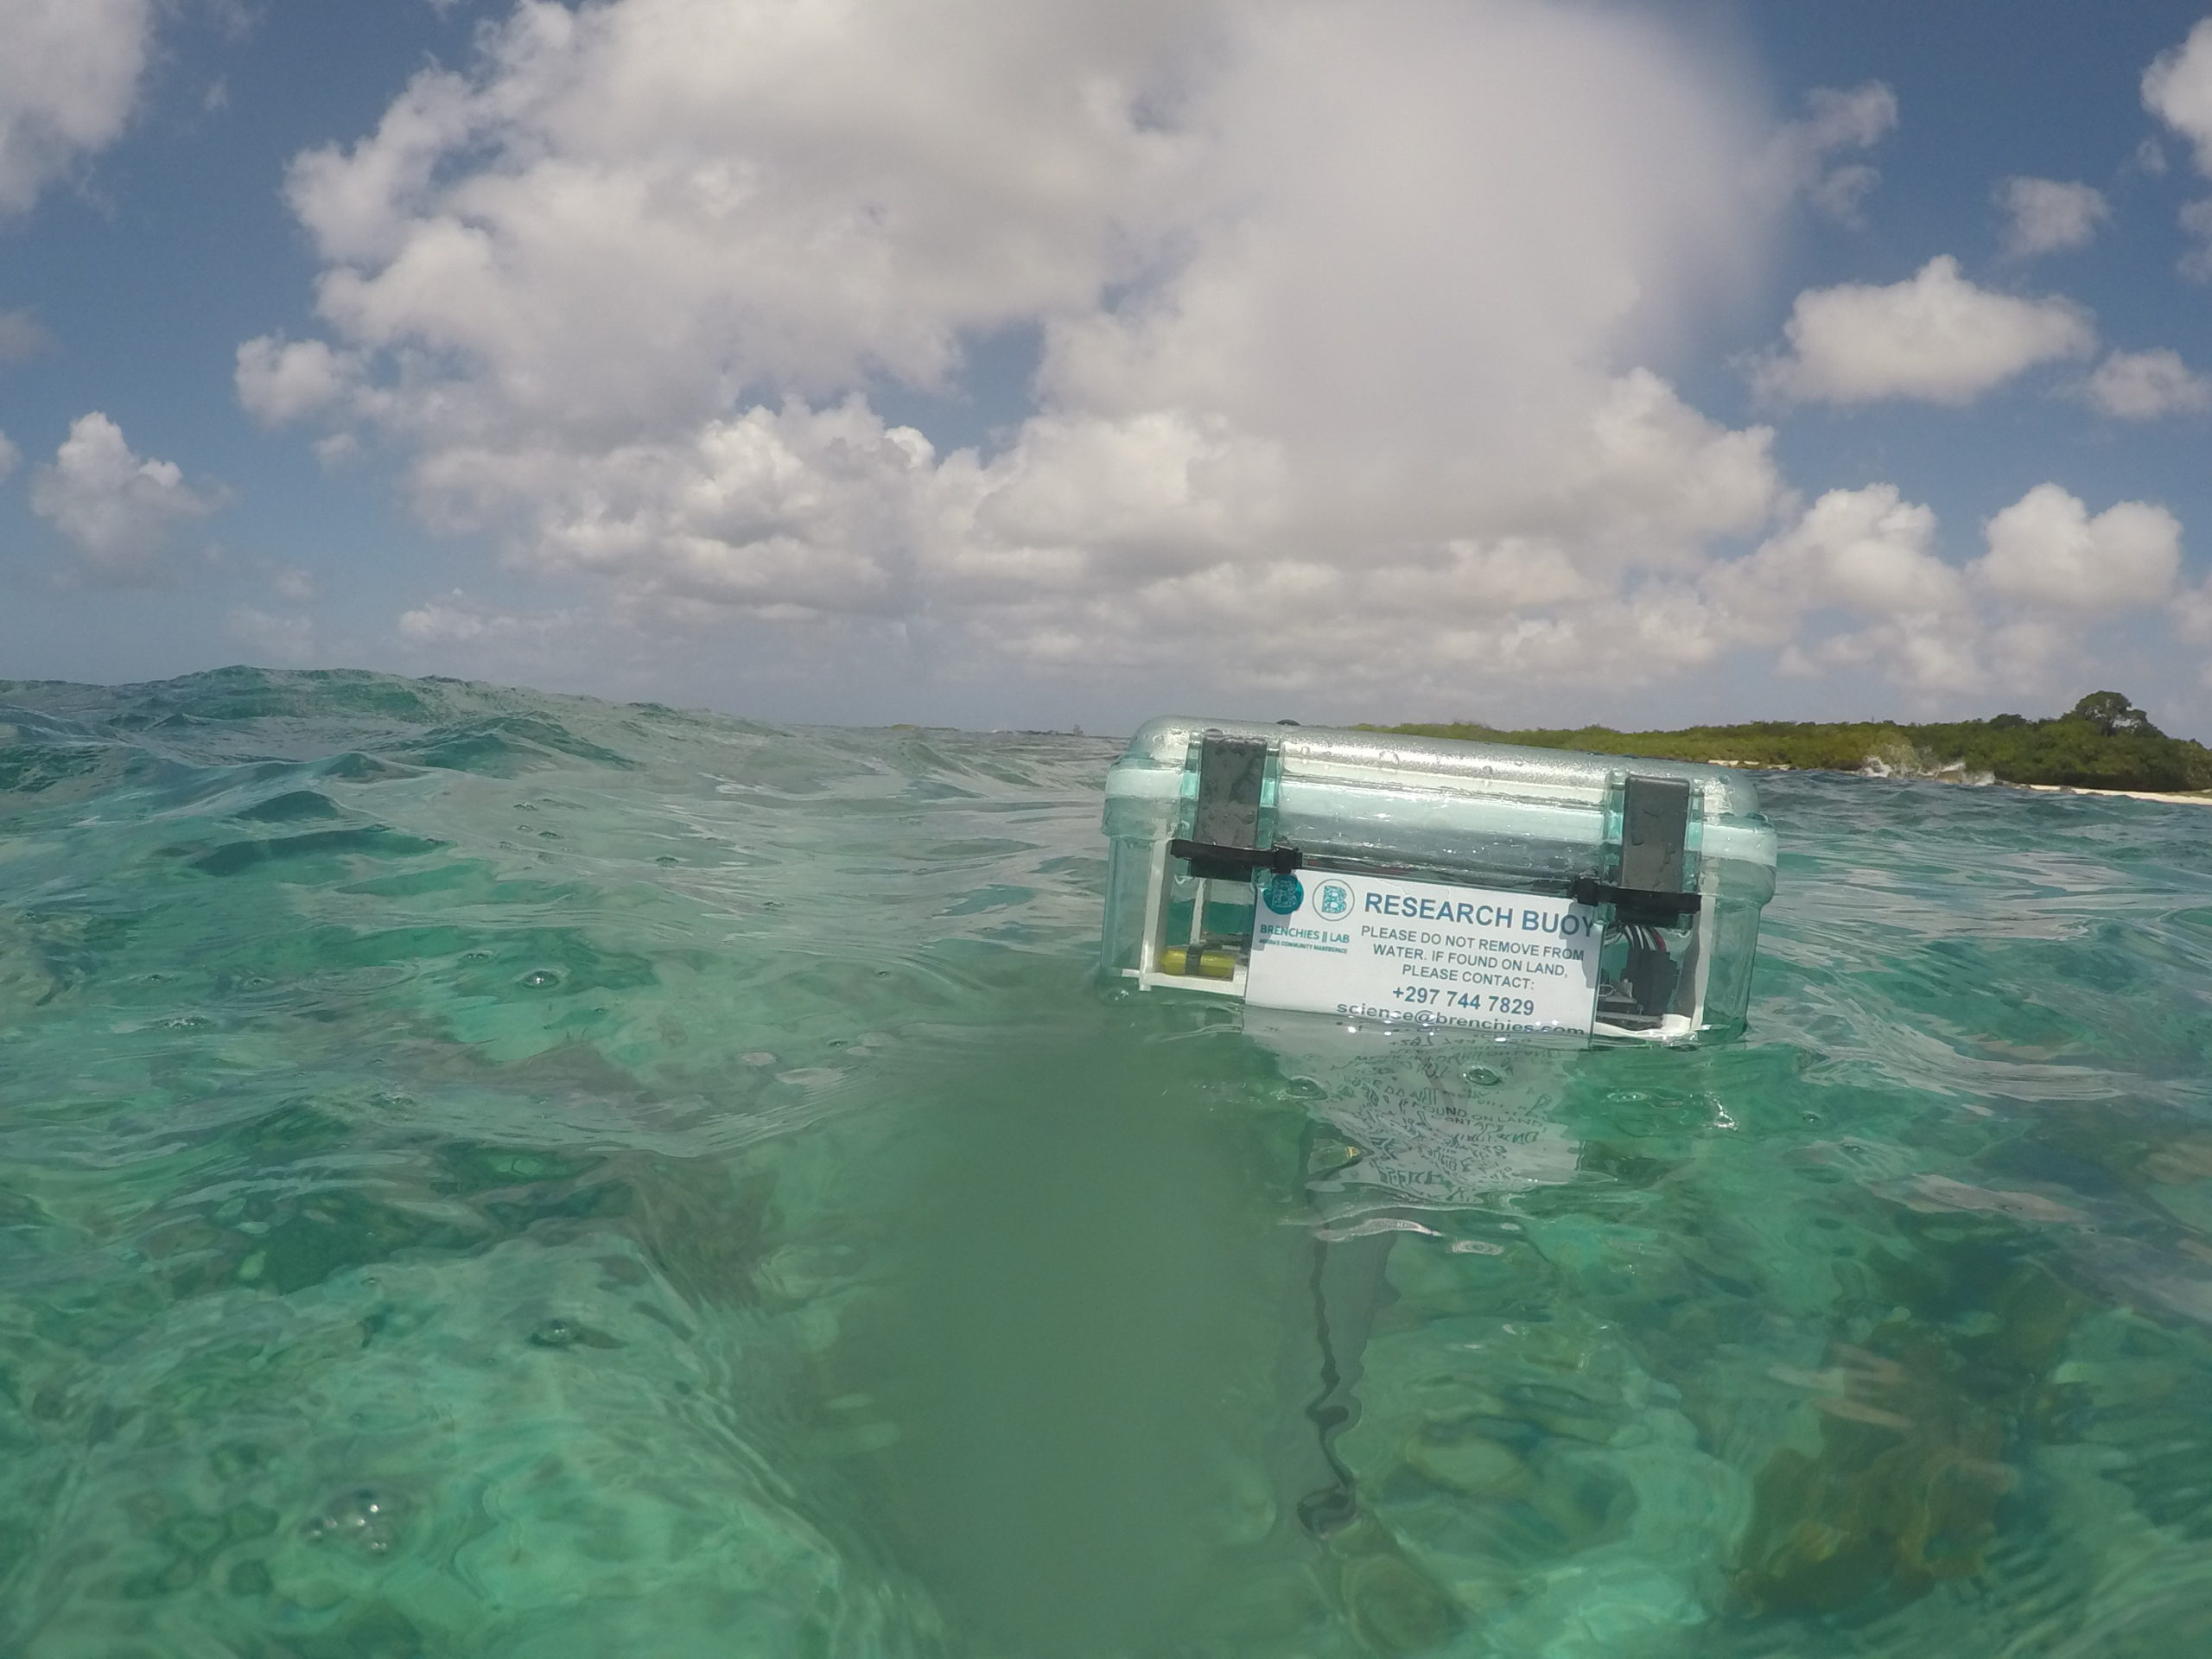
When we got in touch, Wayne Pavalko gave us a consultation to discuss the different options, and we ended up ordering a kit with a water temperature sensor, a pitch sensor, and GPS. Since we were doing near-shore testing, he added a downward facing camera to test out some local seafloor photography, and suggested that he assemble and seal the buoy to avoid any risk of leaks or construction errors.
The buoy uses an Adafruit Feather Arduino board. The design and code is hosted on GitHub, although there have been some improvements made since it was last updated: https://github.com/wjpavalko/Maker-Buoy If you get in touch through the website you might be able to get a copy of the newest version if you’re interested in programming your own. You can also find them on Twitter here: https://twitter.com/MakerBuoy
After we ordered the buoy, we were able to log in to an online dashboard to see it’s location tracking points, temperature and pitch measurements, and images that it collected. The dashboard also lets us send commands to the buoy, so we can set the frequency and duration of data collection, or tell it to take a picture. We saw a test picture that was taken in Wayne’s backyard, and were able to see where it was while it was on its way to Aruba.
SESSION 1 RECAP
March 7, 2022
REEF FLOATING
We started with what we thought was a simple test, letting the buoy float near Mangel Halto as we snorkeled next to it. We brought along a GoPro to get some underwater shots of it, and a Kayak to get a bit more mobility in case the currents were quick. The area is a well known snorkeling and diving spot, and has a current that runs northwest along the coast, along which you can drift and end up at Mangel Halto beach.
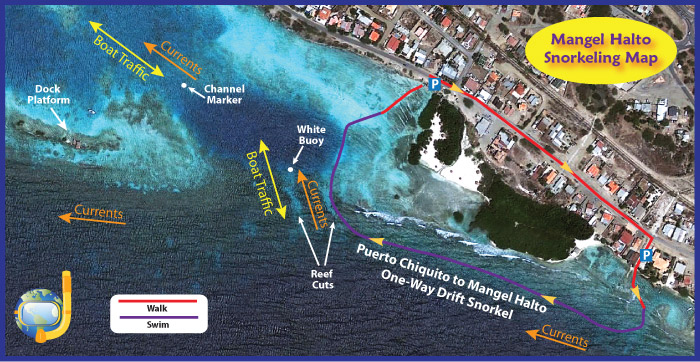
What we found was that snorkeling next to the buoy was unsurprisingly easy, since we were drifting along with the current, a bit slow, and that we ended up going more west than northwest. We stopped when we got to the steep drop off at the edge of the shallow reef system, and swam with the buoy back to shore.
In a second test, we let the buoy float in the shallow coastal area that was inside a breakwater structure. It floated along the edge of the breakwater until it reached the opening, and then started to drift out to sea along the same path as our first test. This time we used the kayak to watch it and retrieve it. We fell out of the kayak a couple of times when waves knocked us sideways, but were able to climb back in. We also realized that it would be a good addition to have a bailing cup attached in the kayak, since the water that came in when we fell made it heavier and lower in the water, slowing us down.
Looking at the data afterwards, and talking through it with Wayne, we learned a couple of things. First, it’s important to wake up the buoy in advance. Since it was in the lab, we had it in sleep mode to save money on satellite data, which can be expensive. When we wake it up with the magnetic dongle, it is set to take readings every 15 minutes, and to send the data after 3 readings, which takes 45 minutes. Any commands we send are communicated to the buoy when it connects to the satellite after that period, so ideally we would wake up the buoy around 45 minutes before we want the settings to change.
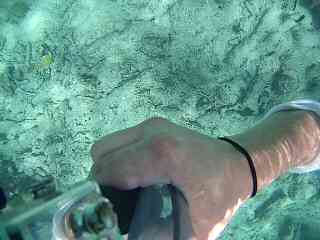
What ended up happening was that we woke up the buoy when we put it in the water, so it collected data points every 15 minutes. Then we sent a command for it to take a picture, which it received 45 minutes later. The result was a picture of a hand holding the buoy while bringing it back to shore, instead of a beautiful picture of the coral reef ecosystem. We also set the data collection interval at 15 minutes, which is a bit sparse for such a small scale test.
This is the first photo we took with the buoy:
And this is the map of the data we collected:
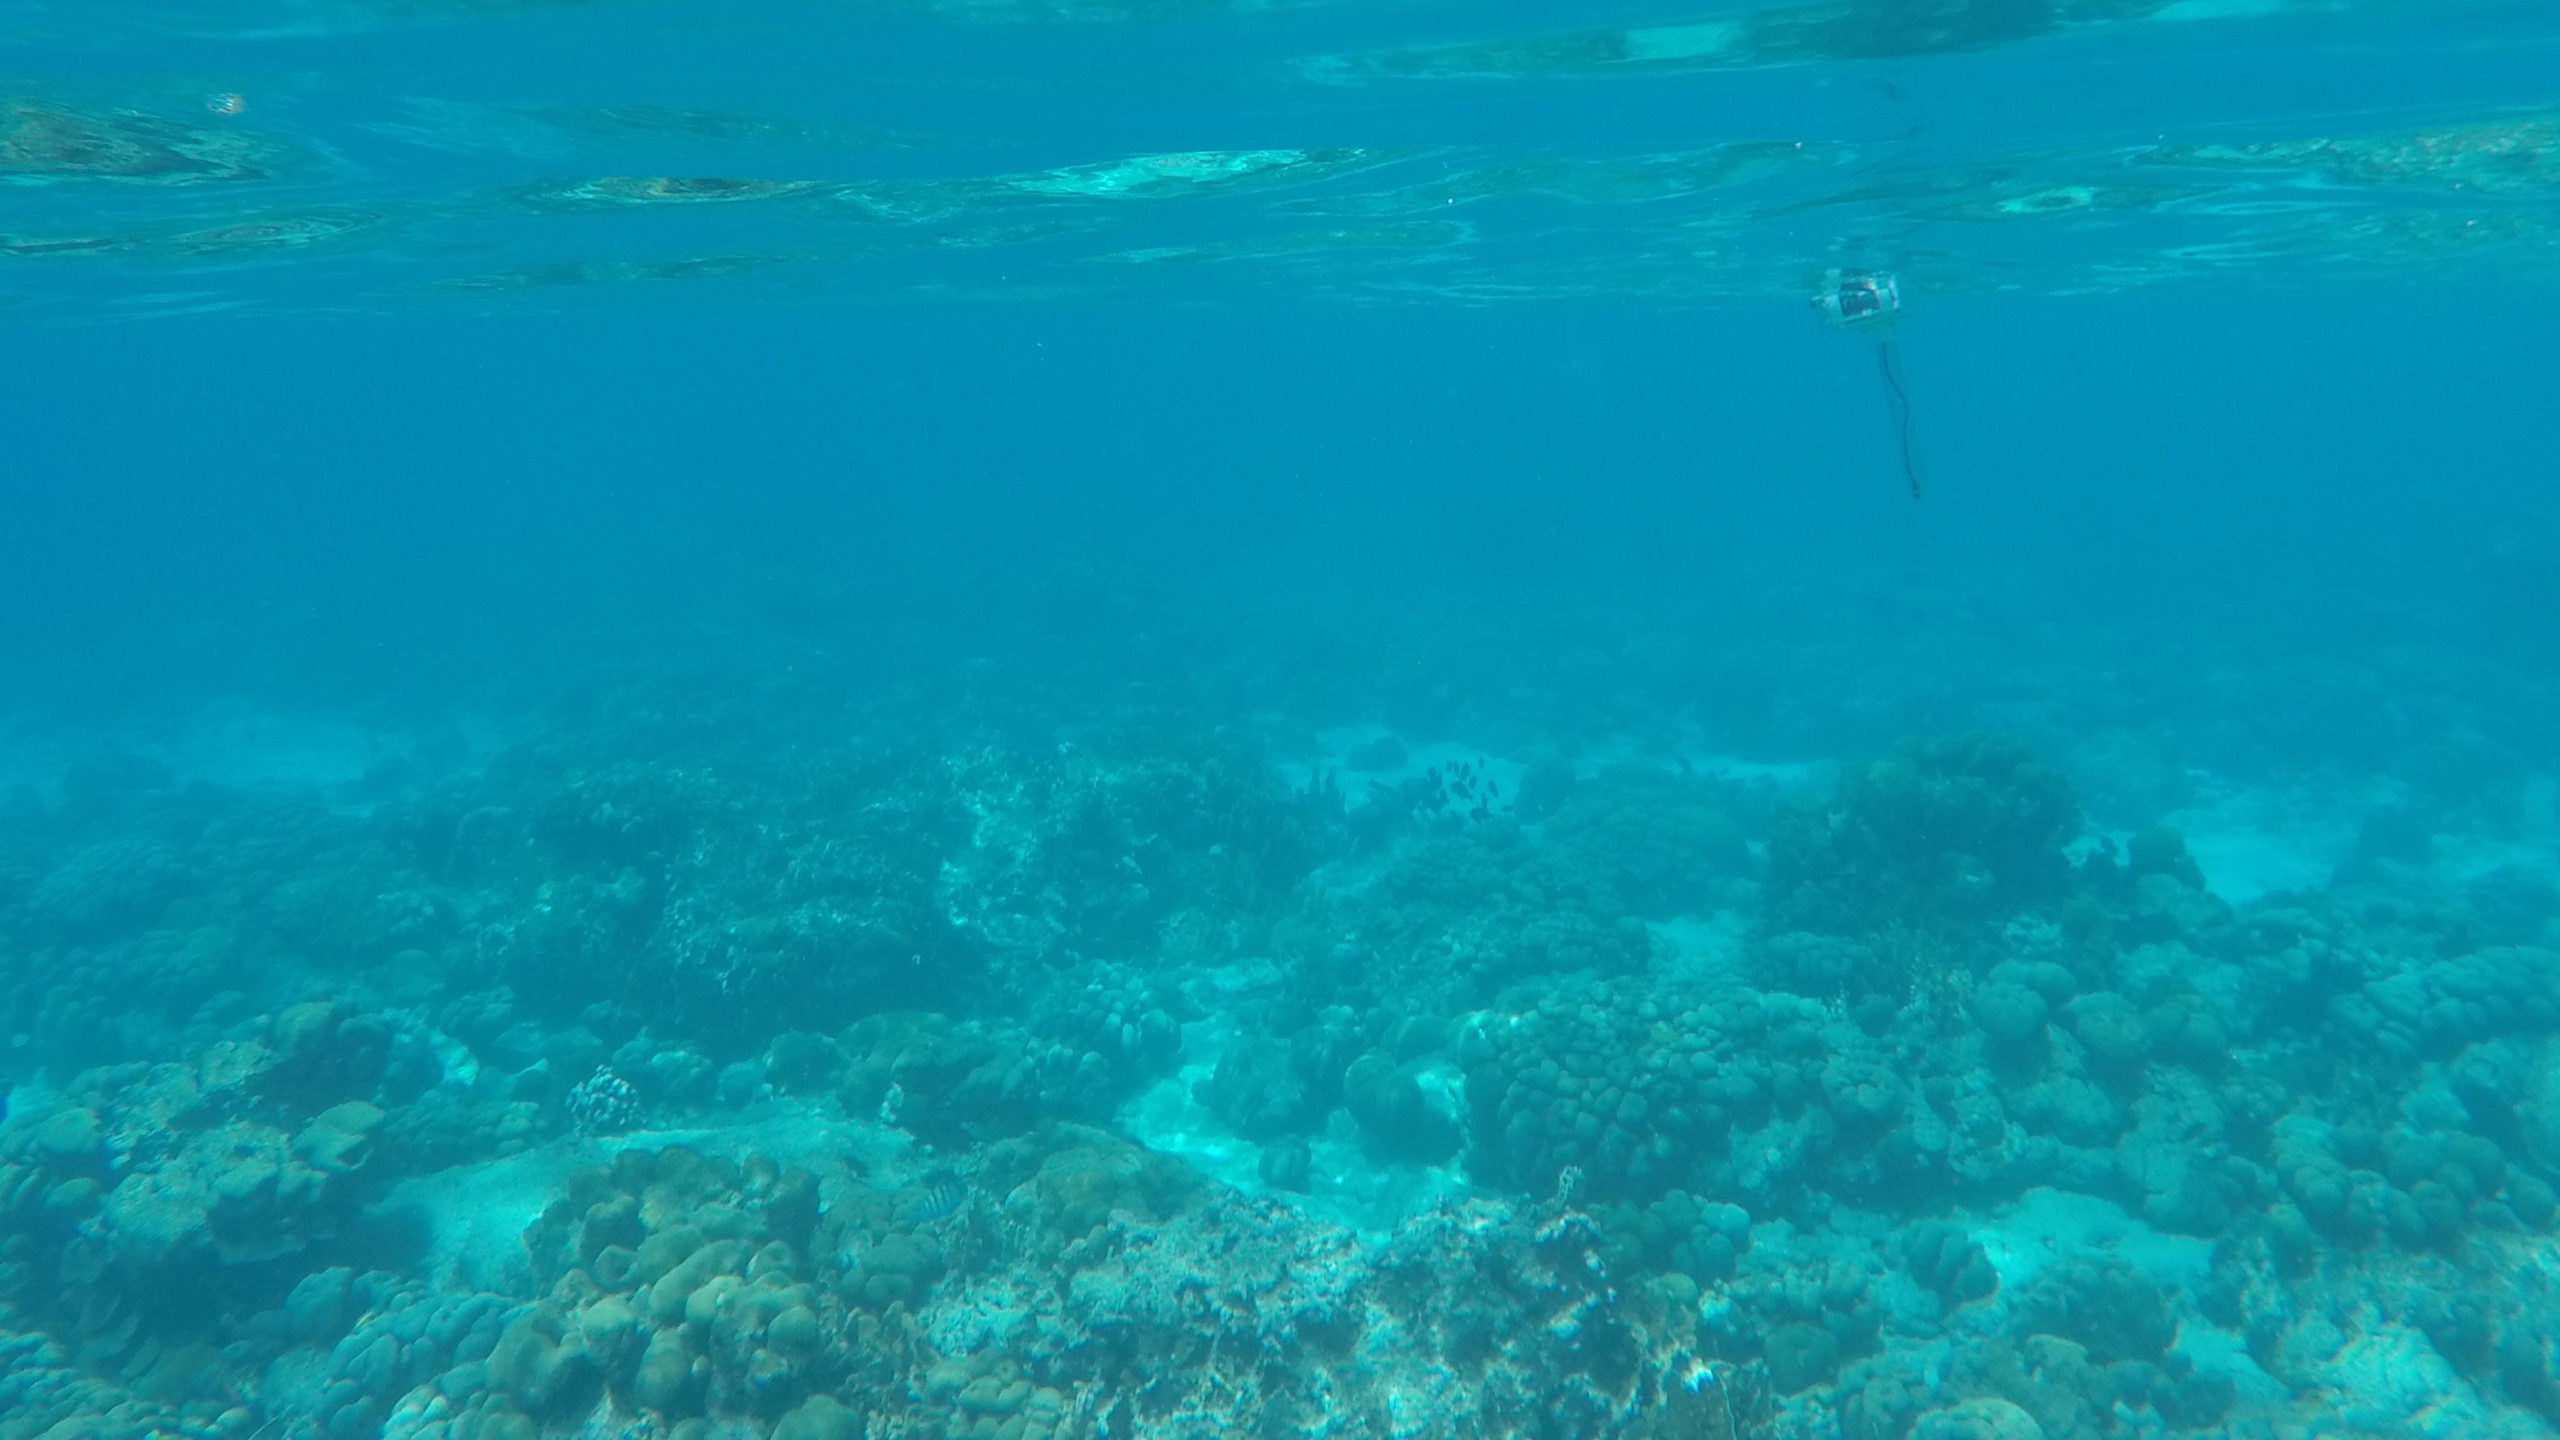
And here it is with some coral:
SESSION 2 RECAP
March 9, 2022
SEAGRASS TETHER
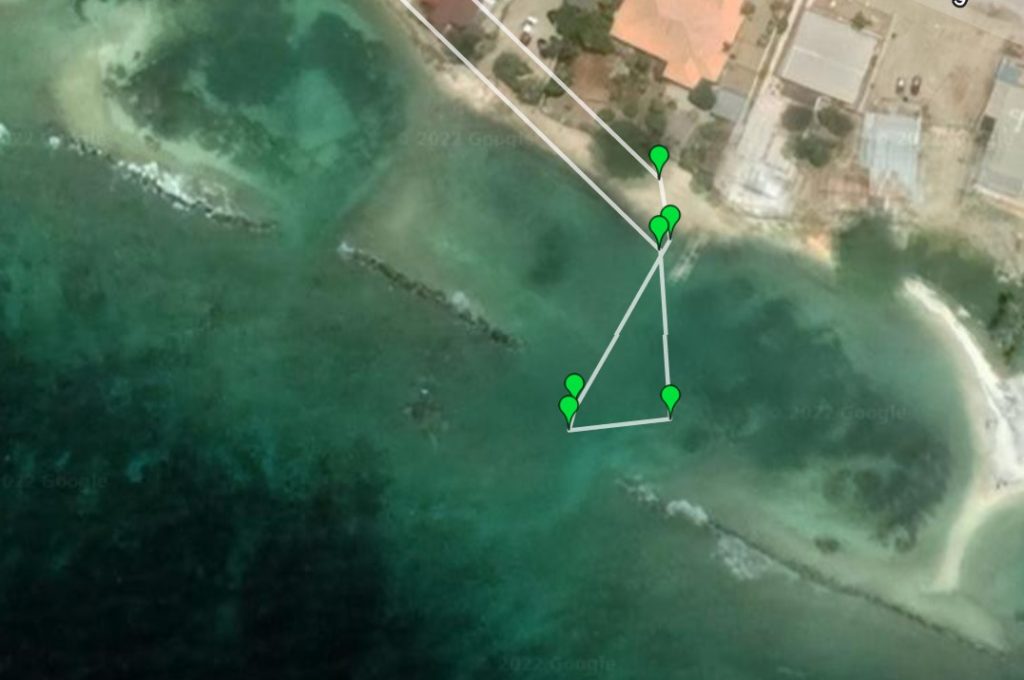
For the second test, we came up with an option to retrieve the buoy from shore, and headed over to nearby Surfside Beach. We brought our kayak, but also attached a string to the buoy that we could hold from the beach. We used cotton string to avoid putting plastic into the ocean. At first it floated, but after some time it ended up getting waterlogged and sinking into the seagrass bed. The string snagging on the grass, as well as the soggy string being pulled by the drifting buoy, caused some extra drag. Either way, it didn’t seem like there was very strong current in the shallow seagrass area, and the buoy wasn’t moving very much. We untied the string to release the buoy from the additional drag, and to see if the current would take it further, but it didn’t make much of a difference. You can see the data points on the right side of the map below.

We took the buoy over to some deeper water closer to the point on the left in the map above, to see if we could catch some currents. We followed it in the kayak, and it drifted parallel to the beach towards the west, to the left in the image. Unfortunately, no data points were collected for this test, which is why you don’t see any on the map. What we think happened was, earlier when we sent a command to take a picture, we had the quality set too high so the buoy was busy trying to upload through the satellites, which meant it wasn’t able to collect data. The image didn’t end up coming through either. Later Wayne helped us figure it out and sent the buoy a command to reboot, which refreshed it for the next session.
SESSION 3 RECAP
March 26, 2022
BOCA FISHING
In the third session, we focused on developing the option of tracking currents from shore. We brought a 220 yard roll of 25 lb fishing line that we had, and took it along with the buoy to Bushiri Beach. The beach has a small pier, with a bay that’s sandy on one side, rocky on the other. The sandy end of the beach curves out to a rocky point where pelicans rest between dives, and people occasionally fish.
Some people were laying on the pier when we arrived, so we took the buoy out to the western end of the bay, tied the fishing line on, and tossed it into the water. It drifted along the outer rocky coast, and was soon washed up into the rocks by the breaking waves. For the next run, we took it across to the eastern end of the bay and tossed it in. Again, breaking waves seemed to be the main driver of it’s direction, and the buoy ended up drifting towards the shore and then got stuck in the shallows. We also noticed that the line needed to be held up a bit, to avoid getting it caught on near-shore rocks. For the third run, we let it go a bit deeper at the same end of the bay, beyond the breaking waves. With the fishing line strung on to a bent coat hanger, we watched the buoy drift across the bay as the line let out. Though it was going well, we ended up running out of line before the buoy made it across the bay. Reeling it back in was also slow, as we had to do it by hand, but it worked fine.

We visited the marina shop to get a longer roll of fishing line, opting for a 675 yard roll of 10 lb line. We also checked out some fishing rods, but the only one that could hold that much line on its reel seemed to be excessively long for our purpose. We picked up an old bamboo fishing rod that we had, and a wooden spoon to use as a handle for the spool. When we got back to the beach the pier was empty, so we dropped the buoy with the new line in off the end and sat down to watch it drift. It went from the pier, just out past the western point of the bay, and out beyond where we could see. Even after walking over to the point, it was barely visible in the distance. We still had plenty of line left but with some boats going by we didn’t want to risk the line getting run over and cut, so we started reeling it in. The 10 lb line turned out to be a bit thin, it didn’t break but it felt like it might as we pulled the buoy against the current. Rolling the line up on the wooden spoon didn’t go much easier than it did with just the spool, so we started thinking about options for a hand held reel with a crank.
Our last couple tests came a bit later in the day, using a 600 yard roll of 20 lb line. There were two people fishing at the point, where the buoy had previously drifted. When the buoy got out there, we felt the line let out a lot, and one of the people waved at us and pointed to the buoy. We waved back, but it was difficult to communicate clearly at that distance. After going over to talk to the guy, we learned that he thought we had lost something and he was trying to catch it for us, but realized that we had it tethered when he caught the line. We reeled it back in, and let it go for another run from the same spot. It didn’t go very far this time; the current had decreased at least in the area near the pier.
We also tried a few more photos with the buoy, testing out lower resolutions to see what worked best.


MORE IDEAS
There are always more things to test, here area few of the ideas we’ll be exploring in the future of our work with ocean currents:
- Increasing the frequency of data collection on the Maker Buoy
- Running a GPS tracking app on a phone floating in a watertight box
- Borrowing a fishing rod to cast and reel in the buoy more easily
- 3D printing a hand held reel, maybe this one
- Letting the buoy go freely and retrieving it with a boat, using the GPS reporting and strobe light to locate it
- Taking some better pictures with the Maker Buoy camera
- Loaning it out to people to track currents at beaches around the island