Geotagging images
These steps describe the process for adding GPS locations to the metadata of images, in our case for seafloor habitat mapping using image classification models. If you have a different tracklog format you can probably convert it using this website: https://www.gpsvisualizer.com/convert This protocol connects to our kayak mapping and ground truthing activities, covered in our seafloor mapping description here: https://science.brenchies.com/en/seafloor-mapping/
You will need:
- Laptop
- Exiftool downloaded and installed (https://exiftool.org/)
- Optional ExiftoolGUI downloaded and installed (https://exiftool.org/gui/)
- Collected images
- Recorded GPX tracklog of image collection excursion
Protocol:
- Step 1: create a folder with the exiftool.exe program in it (installation instructions)
- Step 2: copy your gpx file into that folder and rename it TRACKLOG.gpx (or whatever you like)
- Step 3: create another folder in that folder called IMAGES (or whatever you like) and put your images in there
- Step 4: shift + right click in the folder and select ‘open powershell window here’
- Step 5: geotag images using gpx track with the following line of code: .\exiftool -geotag TRACKLOG.gpx -overwrite_original IMAGES/ (substituting your file and folder names as needed)
Donezo!
Just in case:
If your camera’s date wasn’t correctly set, you can still geotag your images if you took a photo of the phone at the start of the GPS logging process. You’ll just need to figure out the difference between the correct time and the recorded time, do this before you do the steps above. If your GPX file has UTC timestamps, it will be fine, no need to change anything. Exiftool will account for this.
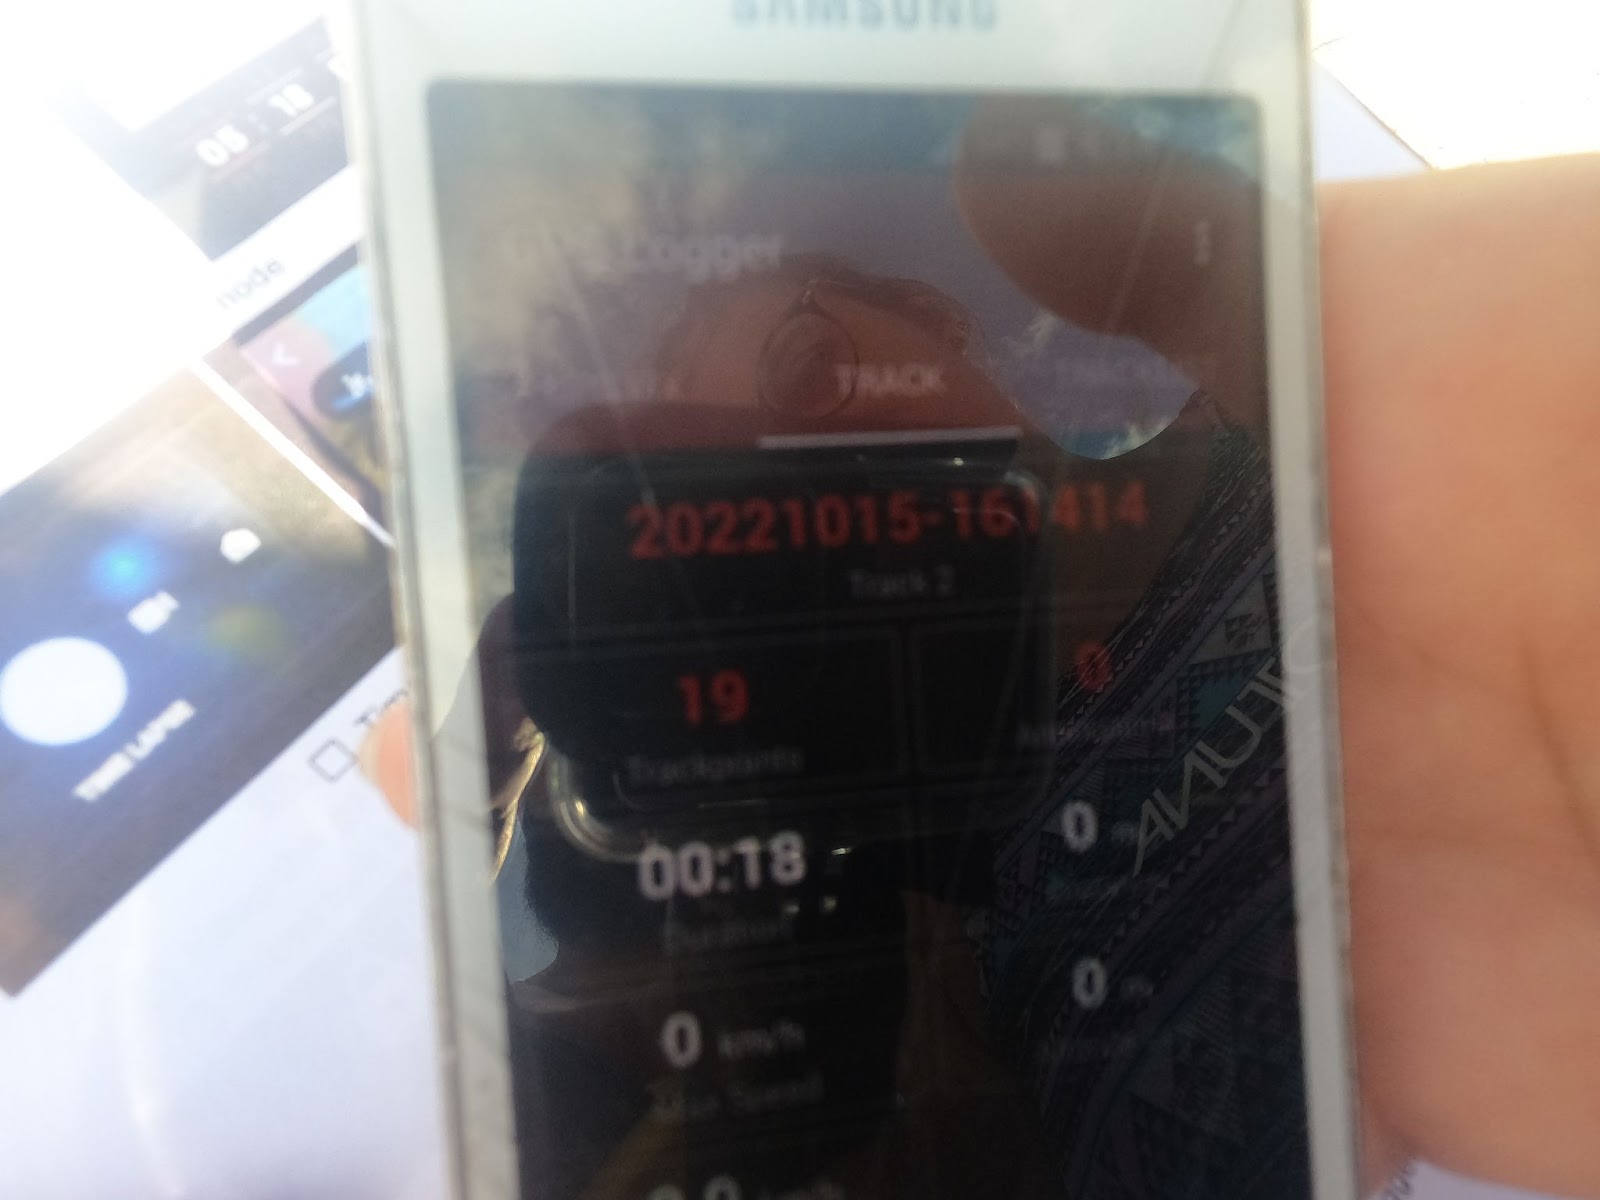
- Step 1: find the image in your collection that has the picture of the GPS logger app on the phone
- Step 2: calculate the actual time of that photo and arrange it in the format ‘yyyy:mm:dd hh:mm:ss’ e.g. for the image below, the gps tracklog started on 2022/10/15 at 16:14:14 i.e. october 15, 2022 at 4:14pm and 14 seconds; and the tracklog has been going for 00:18 i.e. 18 seconds, so the photo was taken at 4:14 and 32 seconds. In the format we need, this converts to ‘2022:10:15 16:14:32’
- Step 3: check the timestamp on the image by right clicking on it and selecting ‘properties’ and reading the ‘Modified’ line – e.g. Modified: Saturday, January 2, 2015, 1:45:45 PM – and arrange it in the same ‘yyyy:mm:dd hh:mm:ss’ format: ‘2015:01:02 13:45:45’
- Step 4: calculate the difference between your camera time and the actual time – e.g. 2022:10:15 16:14:32 – 2015:01:02 13:45:45 = 0007:09:13 02:28:47
- Step 5: add the difference to each image using exiftool with the command: .\exiftool -overwrite_original ‘-DateTimeOriginal+=yyyy:mm:dd hh:mm:ss’ IMAGES/ where yyyy:mm:dd hh:mm:ss is replaced with the difference you calculated, e.g. .\exiftool -overwrite_original ‘-DateTimeOriginal+=0007:09:13 02:28:47’ IMAGES/ or subtract the difference, e.g .\exiftool -overwrite_original ‘-DateTimeOriginal-=0007:09:13 02:28:47’ IMAGES/
Here is the link to these instructions in a Google Doc for possible formatting issues or for easy downloading: https://docs.google.com/document/d/1nl727Mxo_GhluhaTWg_PFxbHPT4behwhzHLvft4ou-g/edit?usp=sharing